This scratch pad records my experience with a Pi Zero W unit, capturing outside timelapses.
Controlling the PiCamera
Reference to python module for control of the Pi Camera (I’m using r1.3).
Dev Setup
On a headless pi, it’s a pain to view the images, so a desktop:
#!/bin/bash
# sync.sh
while :
	do rsync -r pi@192.168.43.35:~/photos/ ~/tmp
  	sleep 1
done


# run sync
# run a special reloader image viewer
>cd ~/tmp
>sync.sh &
>sudo apt install feh
>feh -R image.jpg
On the Pi, using iPython and some scripts can make testing easier:
def p(c: PiCamera):
    print("shutter_speed {}".format(c.shutter_speed))
    print("exposure_seed {}".format(c.exposure_speed))
    print("analog_gain   {}".format(c.analog_gain))
    print("iso           {}".format(c.iso))
    print("exposure_co   {}".format(c.exposure_compensation))
    print("awb_gains     {}".format(c.awb_gains))
    print("digital_ga    {}".format(c.digital_gain))
Understanding the cam.
Gains
In photography terms, analog_gain is like ISO and exposure_speed (controlled by shutter_speed) is as expected. There is no appeture control. There is an auto_exposure mode will adjusts ISO and Exposure to obtain a target luminance (~pixel average)
- analog_gain operates on the sensor, most other things operate on the GPU
- exposure_mode=OFF locks the gain_analog, otherwise it floats to achieve a target luminance
- setting iso (100,200,400,800,0=unset): setting forces the analog gain. The exposure_speed will change to meet target luminance (unless exposure_mode = off)
- setting shutter_speed (leave iso=0): sets exposure_speed. the analog_gain (~iso) will float to meet target luminance
- if set the iso AND shutter_speed, we have effectively override the exposure_mode, and can over/under exposure the image.
Field of View
The R1.3 sensor has a full field of view of 4:3 (2592×1944). For timelapse, we usually want to maintain a wide FOV, so we should select a full field of view:
- Not: mode 1 and 1920×1080 as this crops in both x and y
- High: 2592×1944 (4:3, no bin, mode 2)
- Medium: 1296×972 (4:3, bin 2×2, mode 4)
- Medium: 1296×730 (16:9, bin 2×2, mode 5)
Mode 0 (auto) with resolution 1920×1080 works fine:
camera.sensor_mode = 0  # default
camera.resolution = (1920,1080)
However, if your set mode 1 or rotation:
# don't do
camera.sensor_mode = 1
camera.resolution = (1920,1080)
# don't do
camera.rotation = 90
You’ll get a cropped image with a smaller field of view.
mode 0 res 1920×1080
all good
mode 0 res 1920×1080 rot 90
crops!
mode 1 res 1920×1080 1
crops!
mode 0 res 2592×1944
full size image capture (used mode 2 via auto)
Low light
When capturing low light images, it’s important to remember to set the framerate! Otherwise, the system can’t respect your requested shutter speeds.
The maximum exposure time is currently 6 seconds on the V1 camera module, and 10 seconds on the V2 camera module. Remember that exposure time is limited by framerate, so you need to set an extremely slow framerate before setting shutter_speed.
This link provides a good recipe for long exposures.
Examples
Christ, that’s confusing. Let’s try it out on a dim-ish image. We’ll see using the ‘night’ mode (compared to ‘auto’) we get longer exposures and better quality. Remember to set the framerate to 1/6 to allow long exposure times! Using a dim scence:

1: exp_mode: auto.
Result: ISO640, 1/15s, A-gain 8, D-gain 2
Maxes out gains
1 exp_mode: night.
Result: ISO400 A-gain 4, D-gain 2, s1/2s
Better for dim: longer exposure, lower gains
1 exp_mode: verylong
Result: ISO160, A-gain 1.2, D-gain 1.1, s1.0s
Better again
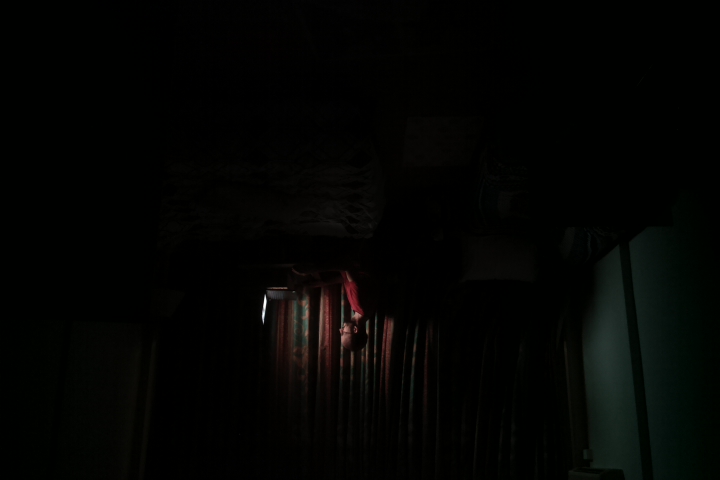
Using a dark scene, we get similiar results (but darker!).
1 dark auto 
1 dark night 
1 dark verylong
Even “verylong” mode appears limited to s1.0 exposure, so let’s override that to 3.0s and 5.0s. We can see the longer shutter speed is respected and gives better results.
1 dark verylong s1 
1 dark verylong s3 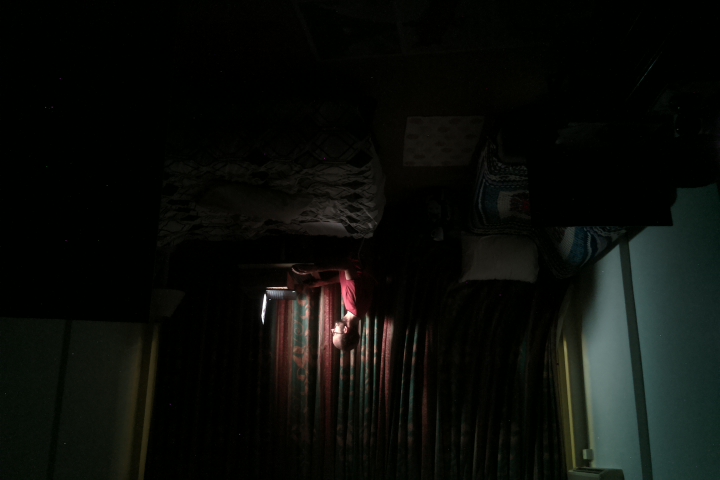
1 dark verylong s5
Summary for TimeLapse
To capture good light images, we want well-exposed images, but also want to see the scene changing (e.g. clouds over sun, sunset). These conflict. If the camera is on all the time, we could set the gains once and forget. But when do we set them? Plus we have far-apart captures so it’s silly to keep the camera on.
One solution is to fixed the gains (using “iso100”) and go with that.
Another possible solution is to fix the gains (using “iso” to some daytime value (ISO100)). Then the only variable should be exposure_time which we can control will shutter_time. We can allow the exposure_time to change slowly within set bounds. This should allow us to ‘set’ the sunset go dark (i.e. max exposure time limited) and fast shadows (i.e. exposure time cannot vary quickly).
camera = PiCamera()
camera.iso = 200
sleep(2)
camera.exposure_mode = 'off'  # freeze gains to iso200, aka 2.0 (hopefully?)
proposed_speed = camera.shutter_speed
# save the current_shutter_speed and adjust proposed_speed slowly
camera.shutter_speed = adjusted_shutter_speed
current_shutter_speed = adjusted_shutter_speed # save for next loop
camera.capture()
To capture dim-light images, the recipe works ok, but it is easier to use the following. As per the example, this sets a long exposure and lower gains, for a higher quality. The other alternative is to manually set gains (via ISO) and shutter speed (need to work it out from a light sensor or standard image).
camera = PiCamera()
framerate = Fraction(1, 6)
camera.exposure_mode = 'night'
sleep(2)
camera.capture()
For really dark images, set it manually (ISO800 for high gains, exposure_mode=off, set shutter_speed) or use “nightmode”